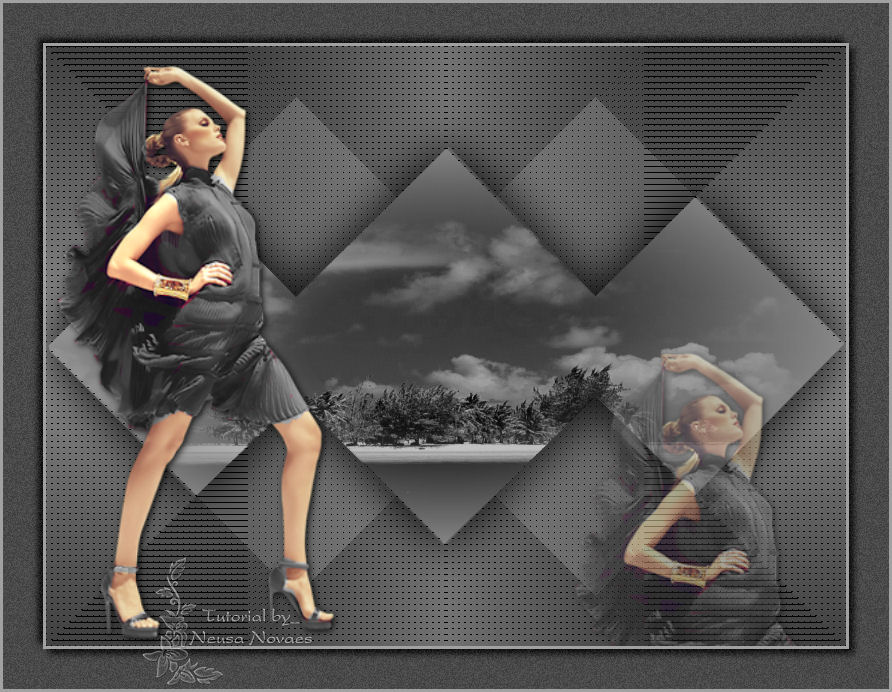
Top 50
Shades of Gray

Terms of use
Click on the flag of your country, for translation.
Depending on your connection the translation may take a while
2 Tubes
VanderLee Plugin
Simple Plugin
1- Open a transparency 800 x 600 px
2- Make a Linear gradient 0 - 1 with two colors of gray
clear put # c0c0c0 on the Backgraud and dark put # 474747 on Foregraund
3- Fill in the transparency
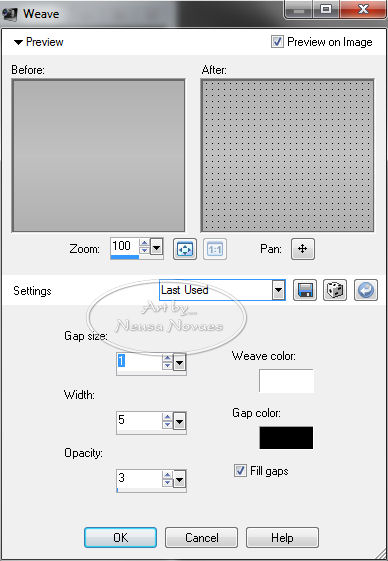
4- Effects> Texture Effect> Wave according to printe
5- VanderLee plugin> Unplegged X according printe

6- Simple Plugin> Pizza Slice Mirror
7- Layers> Duplicate
8- Image> Mirror
9- Change the Blend Mode to Multiply
10- Layers> Merge> Merge Visible
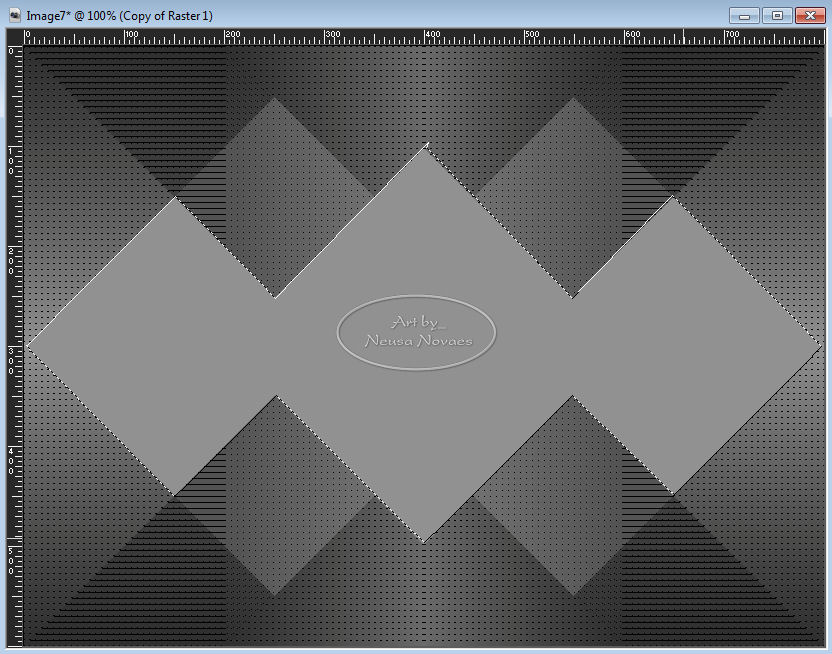
11- Activate the Freehand Selection Tool type Point to Point
12- Select your image according to printe
13- Effects> 3D Effect> Drop Shadow Negative and Positive
3 - 60 - 70.00
14- Still selected open your landscape tube Edit> Copy
15- Edit> Paste Into Selection
16- Selections> Selection None
17- Open your main tube Edit> Copy
18- Edit> Paste and position it to your left
19- Apply a light shade
20- Layers> Duplicate and size smaller right
21- Reduce Opacity to 50%
22- Layers> Merge> Merge Visible
23- Image> Add Border light color 3 px
24- Selections> Select all
25-Repeat Image> Add Border color dark 40 px
26-Effects> 3D Effect> Drop Shadow Negative and Positive
5 - 80 - 10 - 10.00
27- Selections> Invert
28- Adjunt> Add Noise Uniform - 10 - Monochrome Clicked
29- Selections> Select None
30- Image> Add Border light color 3 px
31- Put mine and your brand

NOTE: - Do not forget to put the credits to whom right
** Tutorial created by Neusa Novaes **
March 12, 2015
Copyright reserved
Prohibited total or partial transfer, copies, alterations
publication in websites or blogs, without author's authorization.
Credits
Tubes: - Tony Chavarria and Hebe
Tutorial by_Neusa Novaes