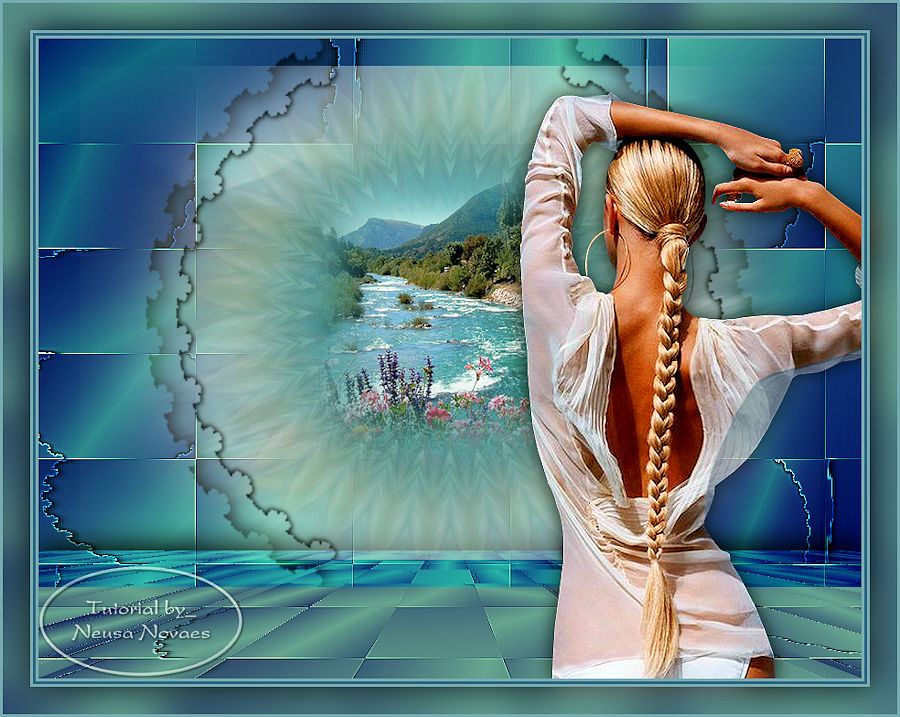
Click on the butterfly to follow the tutorial Let's start!!!
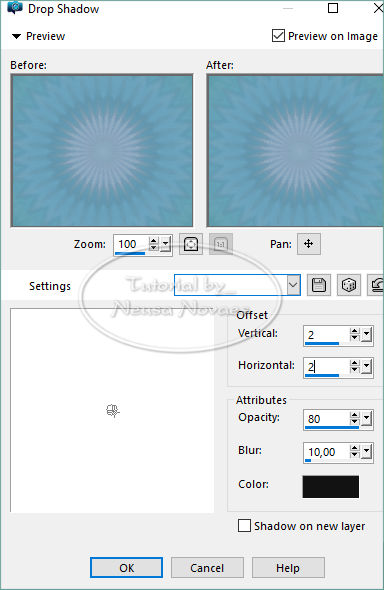
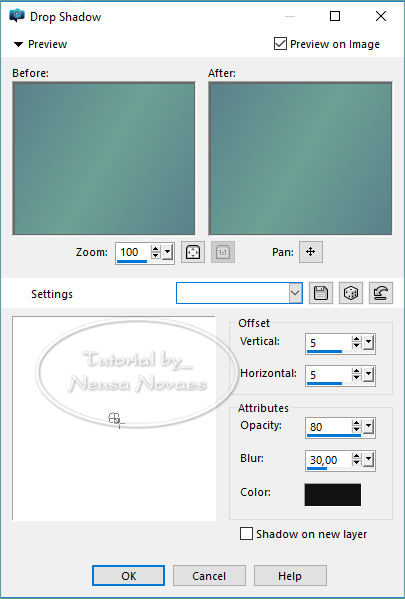
21.-Resize = 90% and deselect 22.-Re-enable raster 1 and Duplique 23.-VM Distortion Plugin> Tilomat 2000 according printe 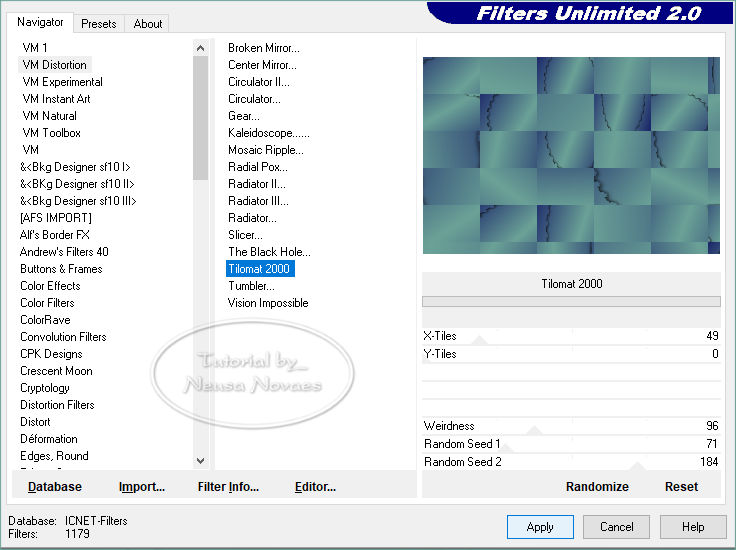 25.-Edge Effect> Enhance More 26.-Continue to Copy of Raster 1 and double 27.-Image> Canvaz Size = 900 x 700 px being 100 px in the botton 28.-Muras Meister Plugin> Perspective Tiling in the same configuration as open placing only 20 px at Height 29.-Apply Drop Shadow = 0 - 0 - 80 - 50,00 in black color 30.-Open Edit and Copy your main tube 31.-Edit> Paste as New Layer and place to taste 32.-Adjust> One Step Photo Fix (Optional) 33.-Adjust> Sharpness> Sharpen Apply Drop Shadow to taste 34.-Activate Copy of Raster 1 Edit> Copy and reserve 35.-Image> Add Border = 3 px in light or dark color 36.-Image> Add Border = 3 px in dark or light color 37.-Image> Add Border = 3 px in light or dark color 38.-Select 39.-Image> Add Border = 30 px in dark or light color 40.-Invert 41.-Edit> Paste Into Selection 42.-Adjust> Blur> Gaussian Blur = 20.00 43.-Invert again 44.-Apply Drop Shadow = 0 - 0 - 80 - 60,00 in black color 45.-De-select 46.-Image> Add Border = 3 px in light color 47.-Resize = 900px 48.-Put mine and your mark if it gives new layer merge down 49.-AAA Plug Filters> Custom> Landscape 50.-Save in JPG July 1, 2019 Copyright reserved Any similarity is purely coincidental. Prohibited total or partial transfer, copies, alterations publication in websites or blogs, without author's authorization. NOTE: - Do not forget to put the credits to whom right  |
